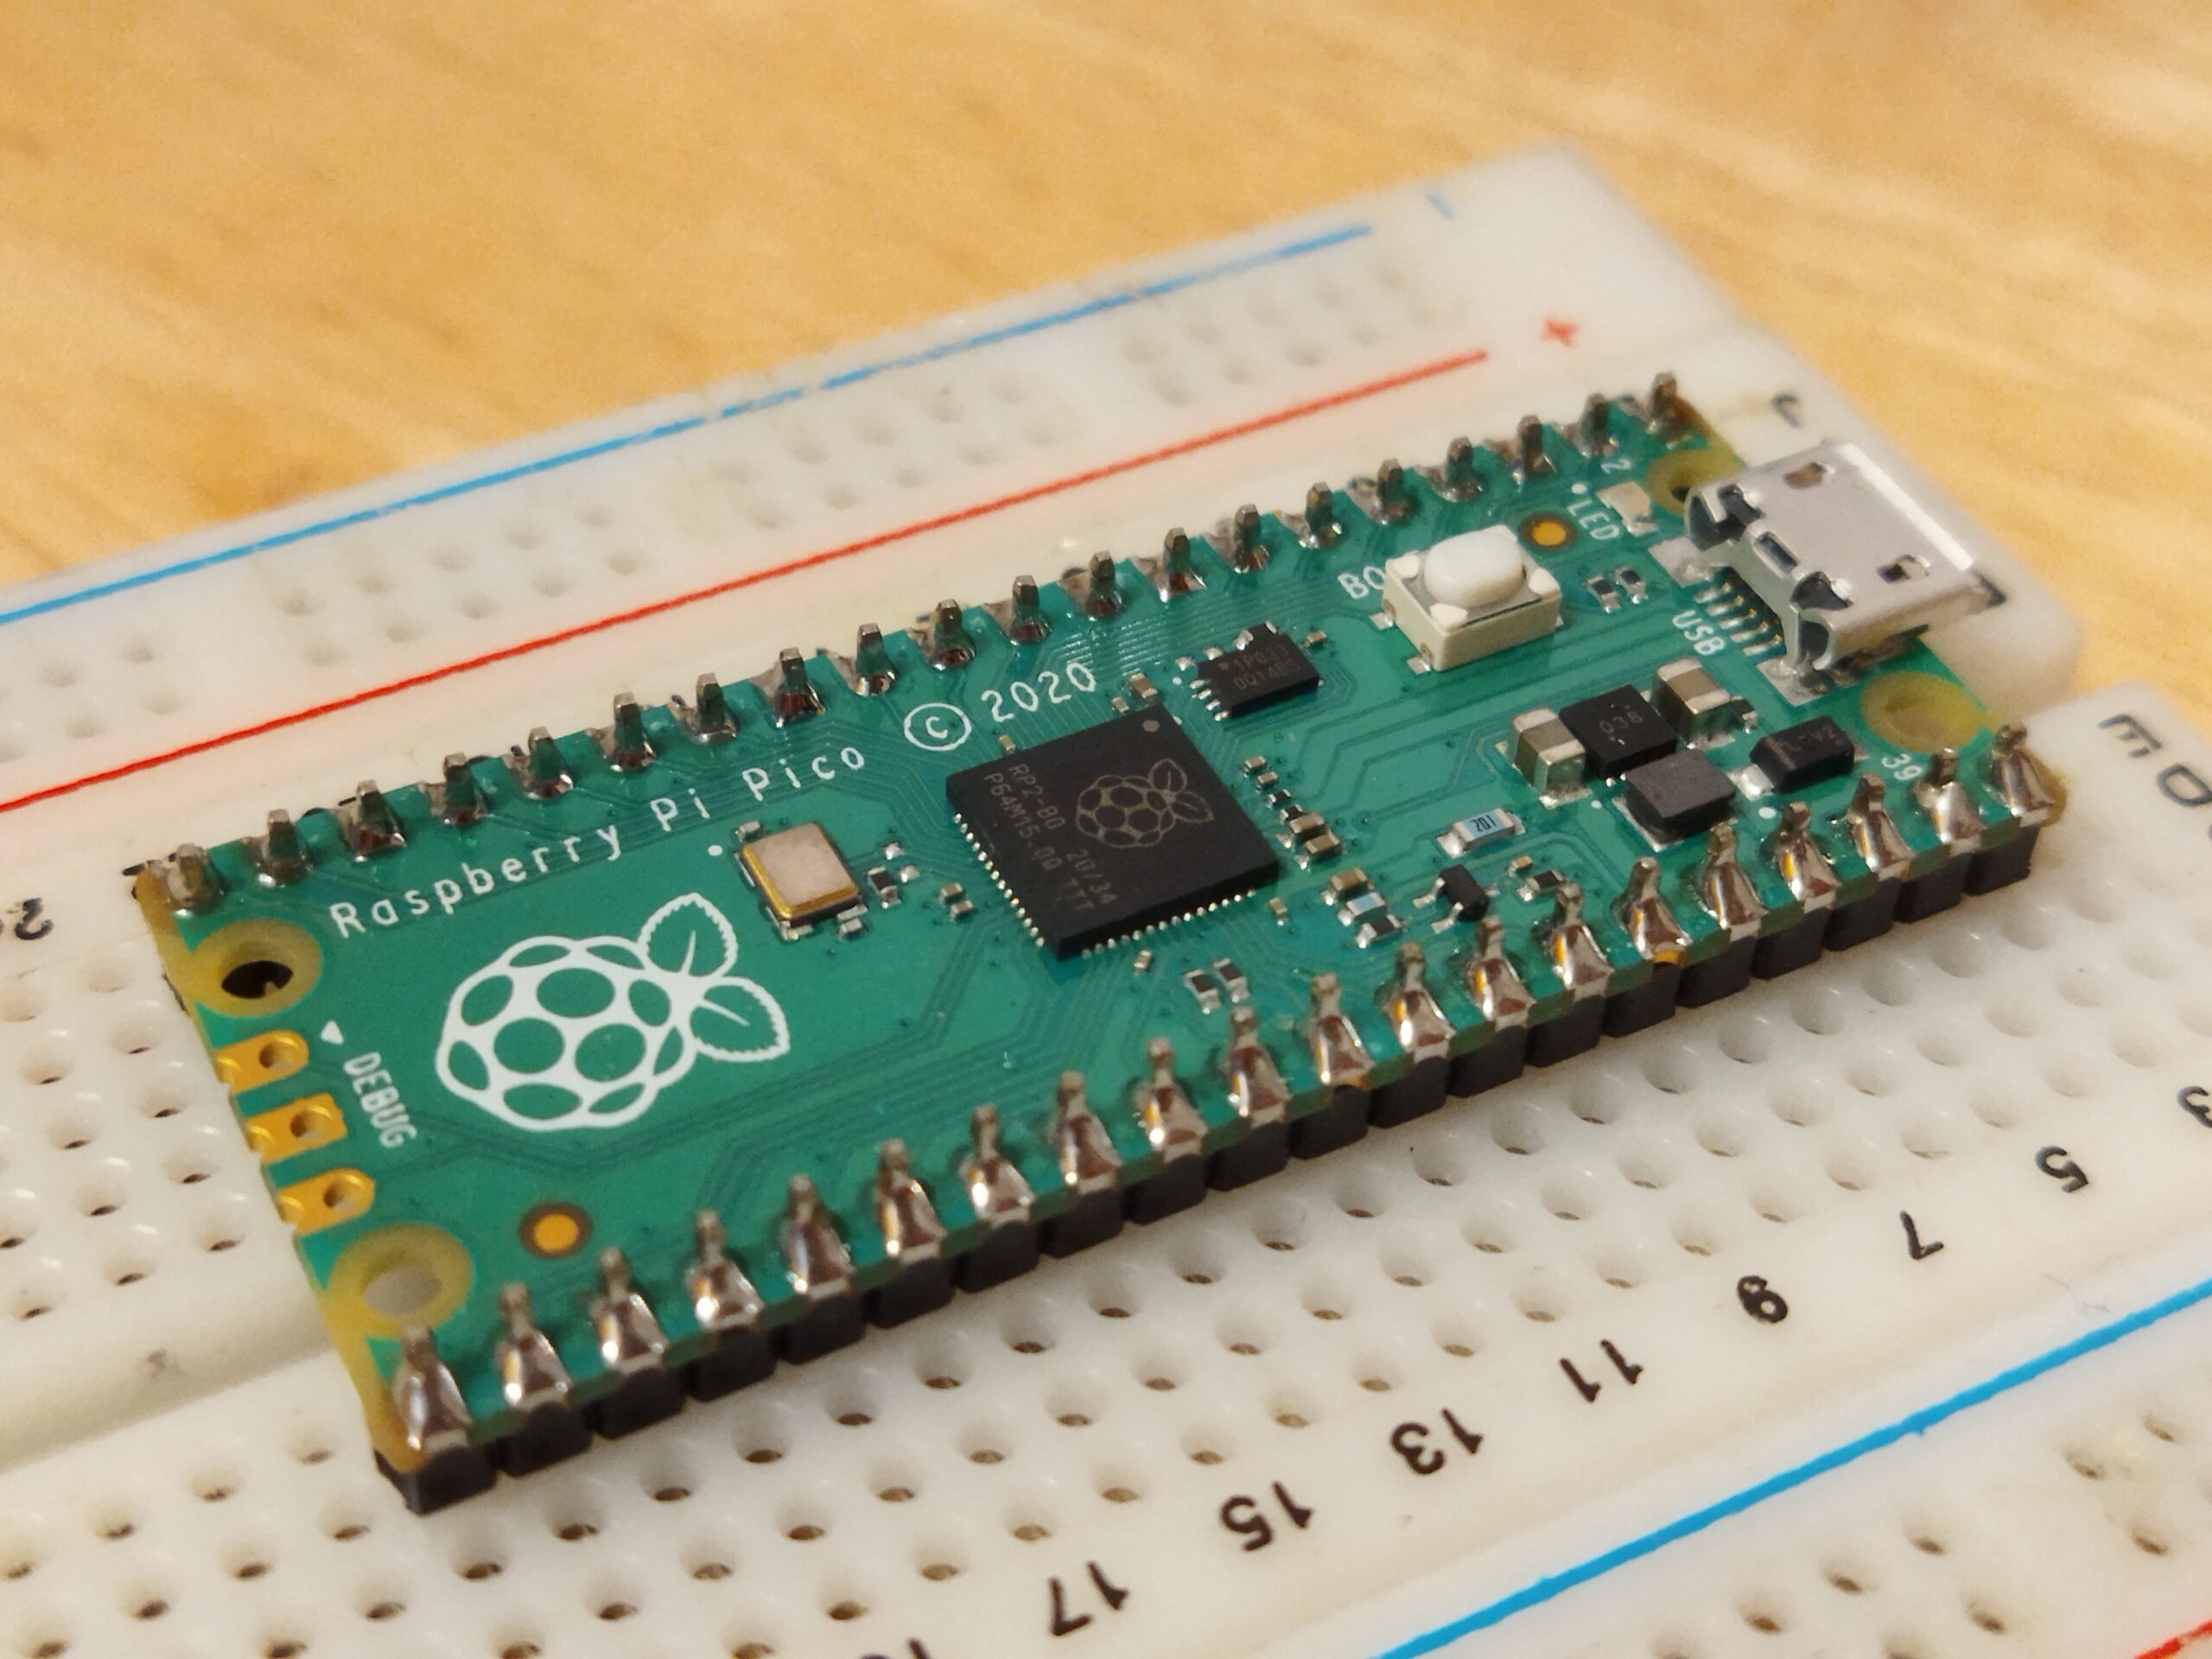
Another fun platform is the Raspberry Pi Pico. Its very small size (21*51 mm) and the possibility of programming it in a language close to Python make it a great ally. We will discover how to configure it, how to program it, but also how to open a remote console and have the Pico interpret the code line by line.
Install MicroPython on the Pico
To be able to program in MicroPython on the Pico, we first install an image on the microcontroller which will then allow us to execute our own MicroPython scripts. Here are the steps.
- The Pico is unplugged, we press the “BOOTSEL” button and keep it pressed while plugging in the USB cable which connects it to a computer. It boots up and appears as a USB device on the computer.
- Download the latest MicroPython for the Pico here: https://micropython.org/download/rp2-pico/rp2-pico-latest.uf2 (for the Pico W, you have to look for the corresponding UF2 file on the site)
- Move the UF2 file into the USB device corresponding to the Pico (it is normally called RPI-RP2)
The Pico reboots itself, it’s almost instantaneous, and is ready to receive your orders in Python
Programming on the Pico with pyCharm
Different environments exist. I like pyCharm for my Python projects, I would like to continue with the same for Pico.
- We download pyCharm here: https://www.jetbrains.com/fr-fr/pycharm/
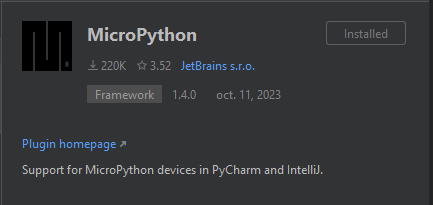
- You need to add the MicroPython plugin
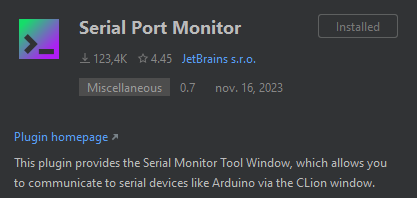
- The Serial Port Monitor plugin will be useful for viewing Pico output: all print instructions are redirected by the serial output (at 115200 baud) and this plugin will allow you to view this output.
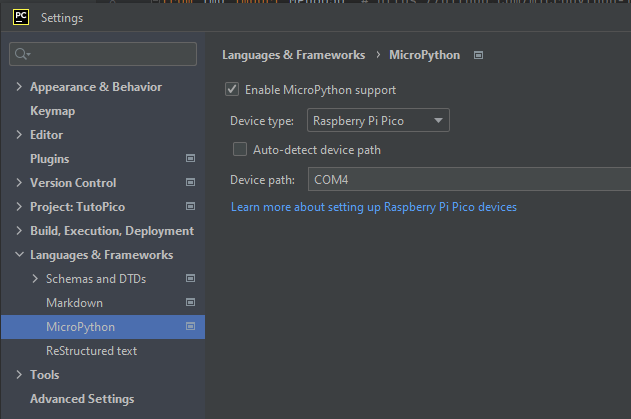
- We create a new project without any special settings, and once the project is open, we will activate MicroPython support in the File/Settings/Languages & Frameworks/MicroPython menu.
- We select Raspberry Pi Pico in the “Device type” menu
- You may have to add certain plugins manually in the console, because pyCharm fails to install them:
pip install pyserial
pip install docopt
pip install adafruit-ampy==1.0.5
We can now create a new main.py file (be careful, the name is very important, another name will not launch on the Pico by default) to paste the following code:
import machine
import time

led = machine.Pin("LED", machine.Pin.OUT)

while True:
    led.off()
    time.sleep(0.9)
    led.on()
    time.sleep(0.1)
And by launching this code (Ctrl+Shift+F10 or right click/Run “Flash main.py”), the code is transferred to the Pico and immediately executed: the LED on the circuit flashes every second.
Communicate via the REPL console
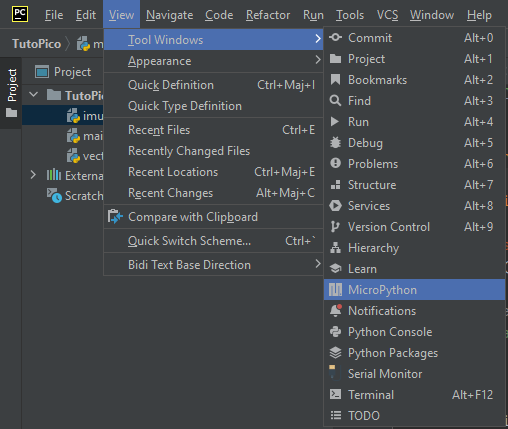
It is possible to open a MicroPython console which will directly execute keyboard inputs on the Pico. To do this, we go to the View/Tool Windows/MicroPython menu and a window is added to the workspace with a prompt inviting you to type MicroPython. We can chain led.off() and led.on() and see the result directly on the circuit.
The Pico on its own
If you want to put the Pico in a location far from a computer, get an external battery with USB output, connect it to the Pico using the same cable, and as soon as the Pico turns on and the program runs.
Two important things to know

- Don’t forget to call your program main.py or it won’t run by default. Avoid boot.py, never tried it, but help requests on forums seem to indicate that it’s not a good idea.
- If you are making a project that contains several scripts, you will need to run the Run on the project name, and not on each file to ensure that all files are sent to Pico.
