It was time for me to equip my workshop with a drill press. Until now, all my drilling was done with a battery-powered hand drill. My holes on the metals were very rough (oval or even triangles), due to vibrations and lack of fine speed control. It is for these reasons that I decided to equip myself with a drill press.
While looking for the one that would suit me, I came across the Erbauer EDP750. Reviews on DIY store sites were far from complimentary: “not great quality”, “laser beam offset”, “pulley not aligned, premature wear of belts”, “mandrel that does not hold on the cone “, “crack noted”. Too bad, at this price (around 200 euros), it’s the only one that had a good drilling depth (80mm) and a nice space under the chuck for drilling bulky parts. But then, in a twist, a new model of this drill is released under the name EDP750-B. So, better or not? Verdict.
Unboxing
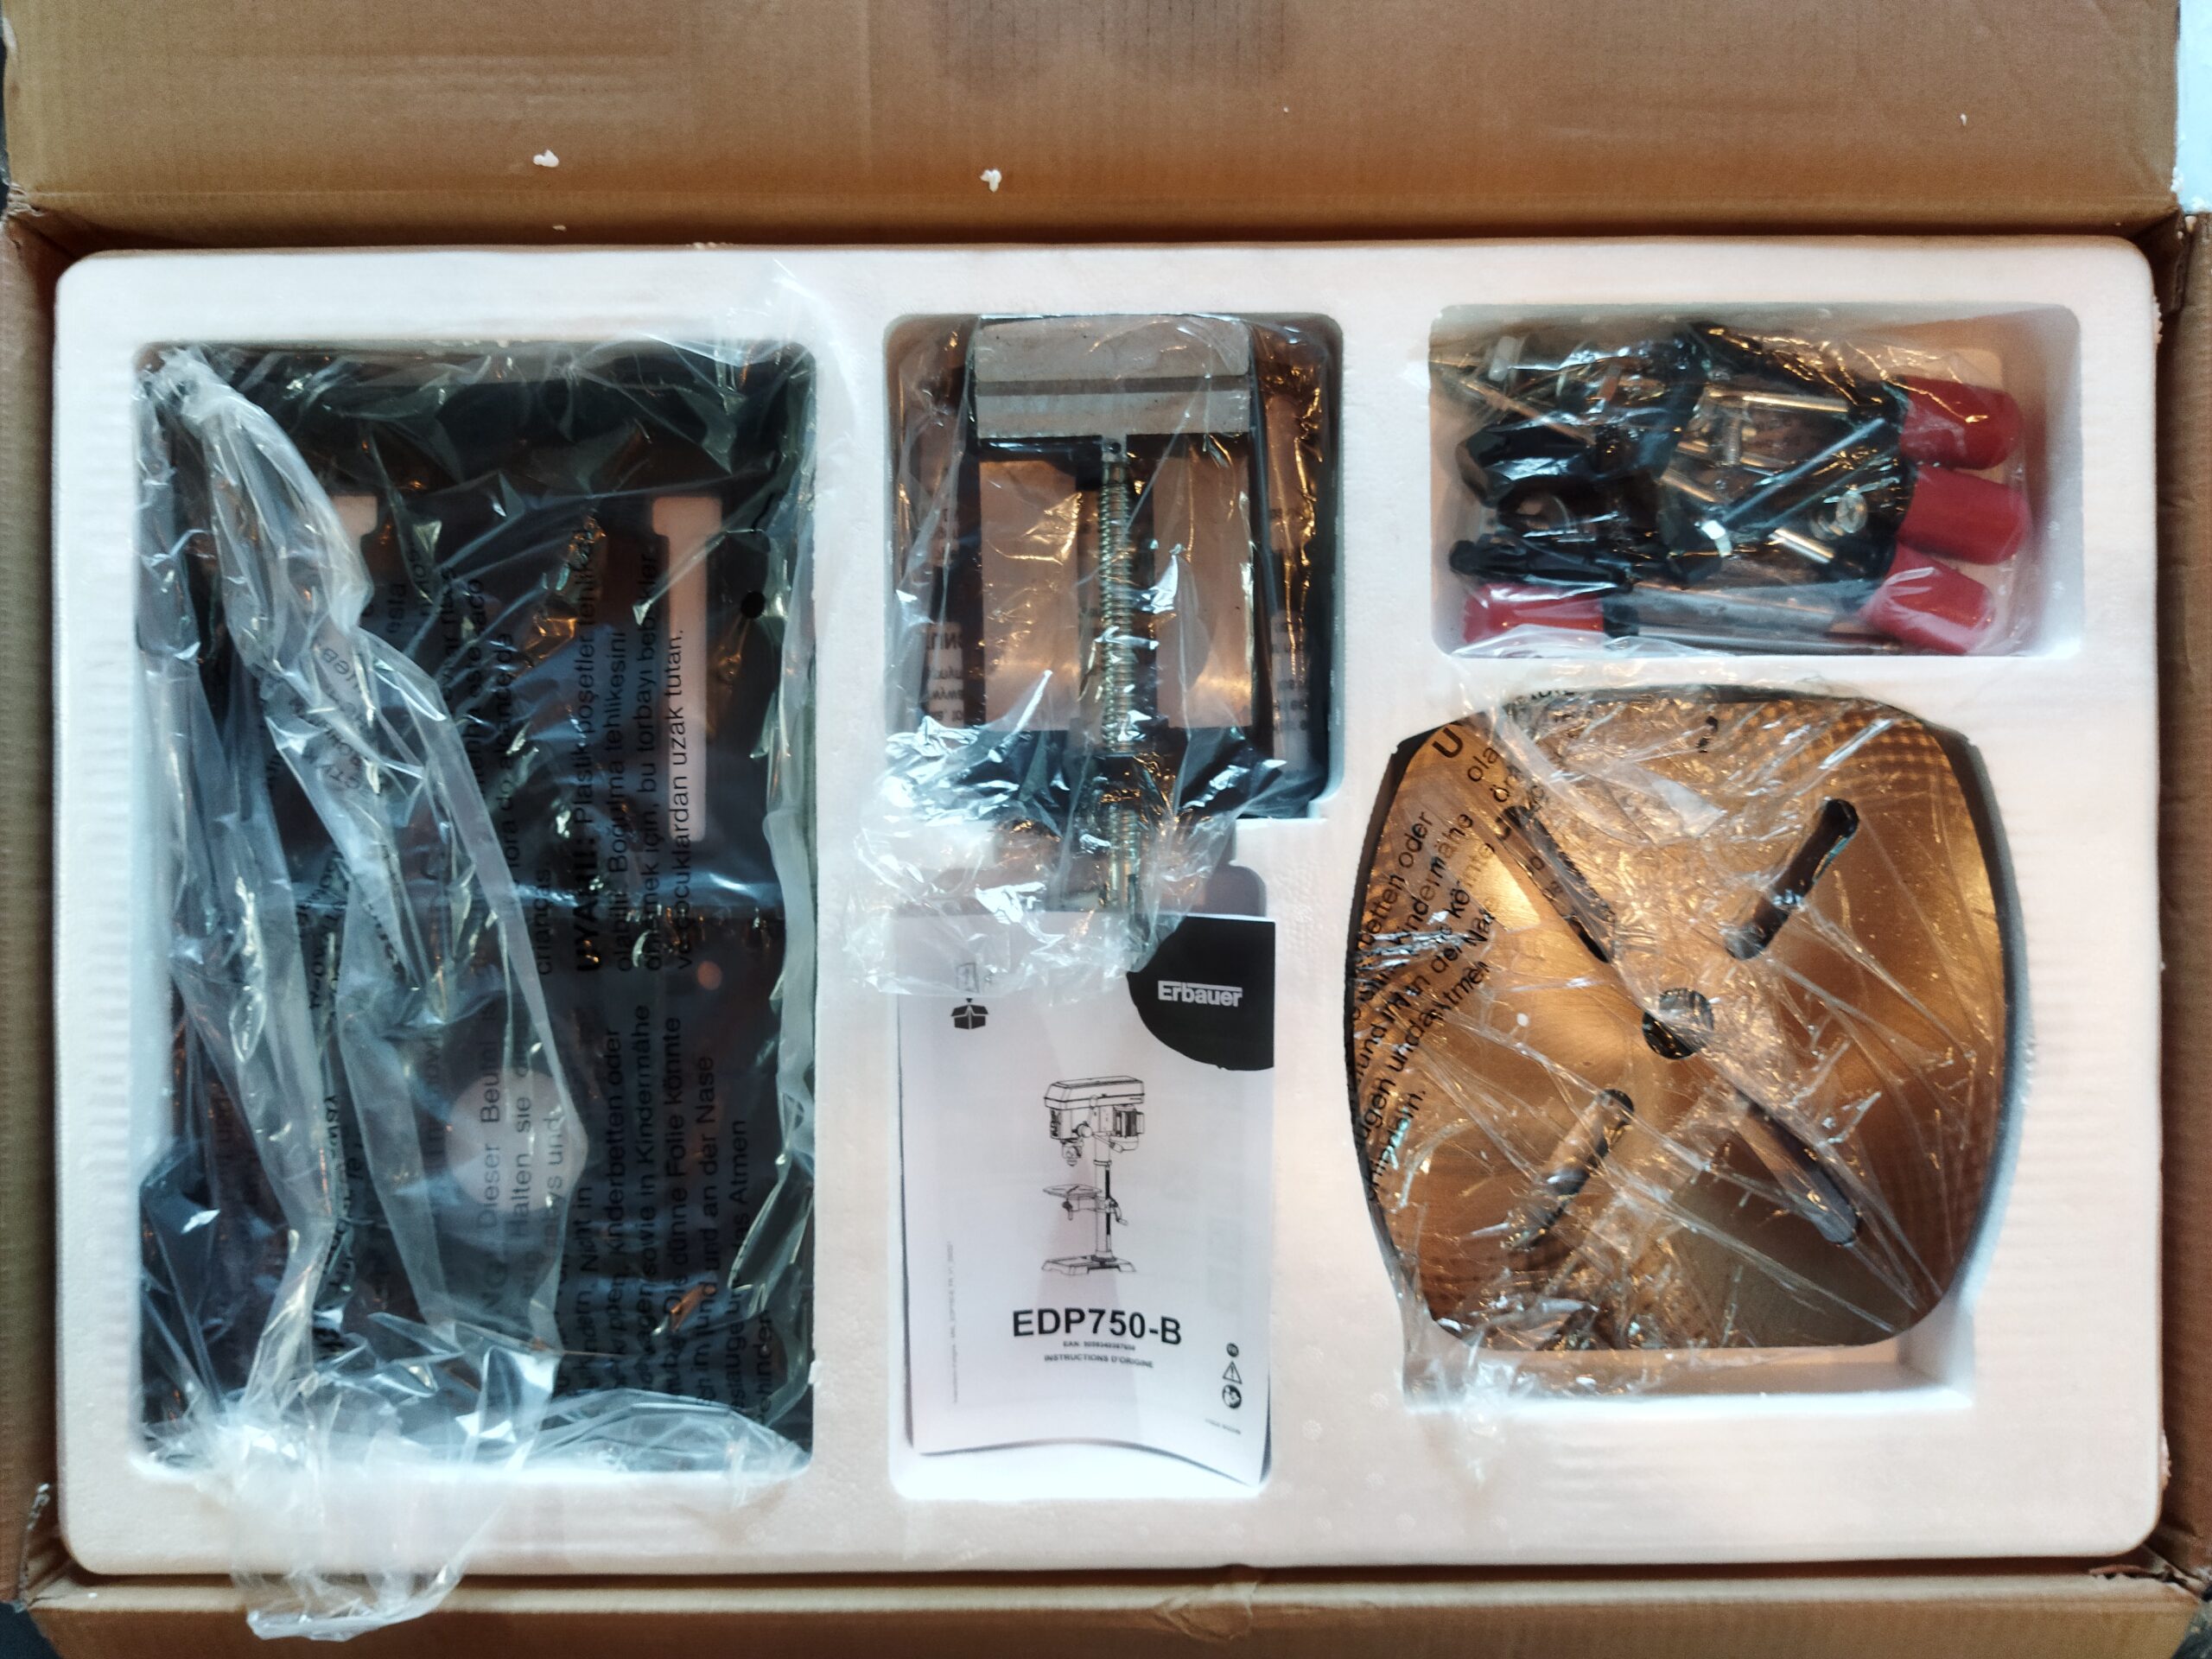
When purchasing, big scare, the only box available is really damaged into one corner. Fortunately the drill is very well packaged in very thick polystyrene. We find in the box:
- the column already assembled with the rack, the drilling table support and the fixing for the base
- vice
- a drilling table
- the base
- hardware: handle and screws
- the chuck protection guard
- the pulley motor block and… the speed variator!
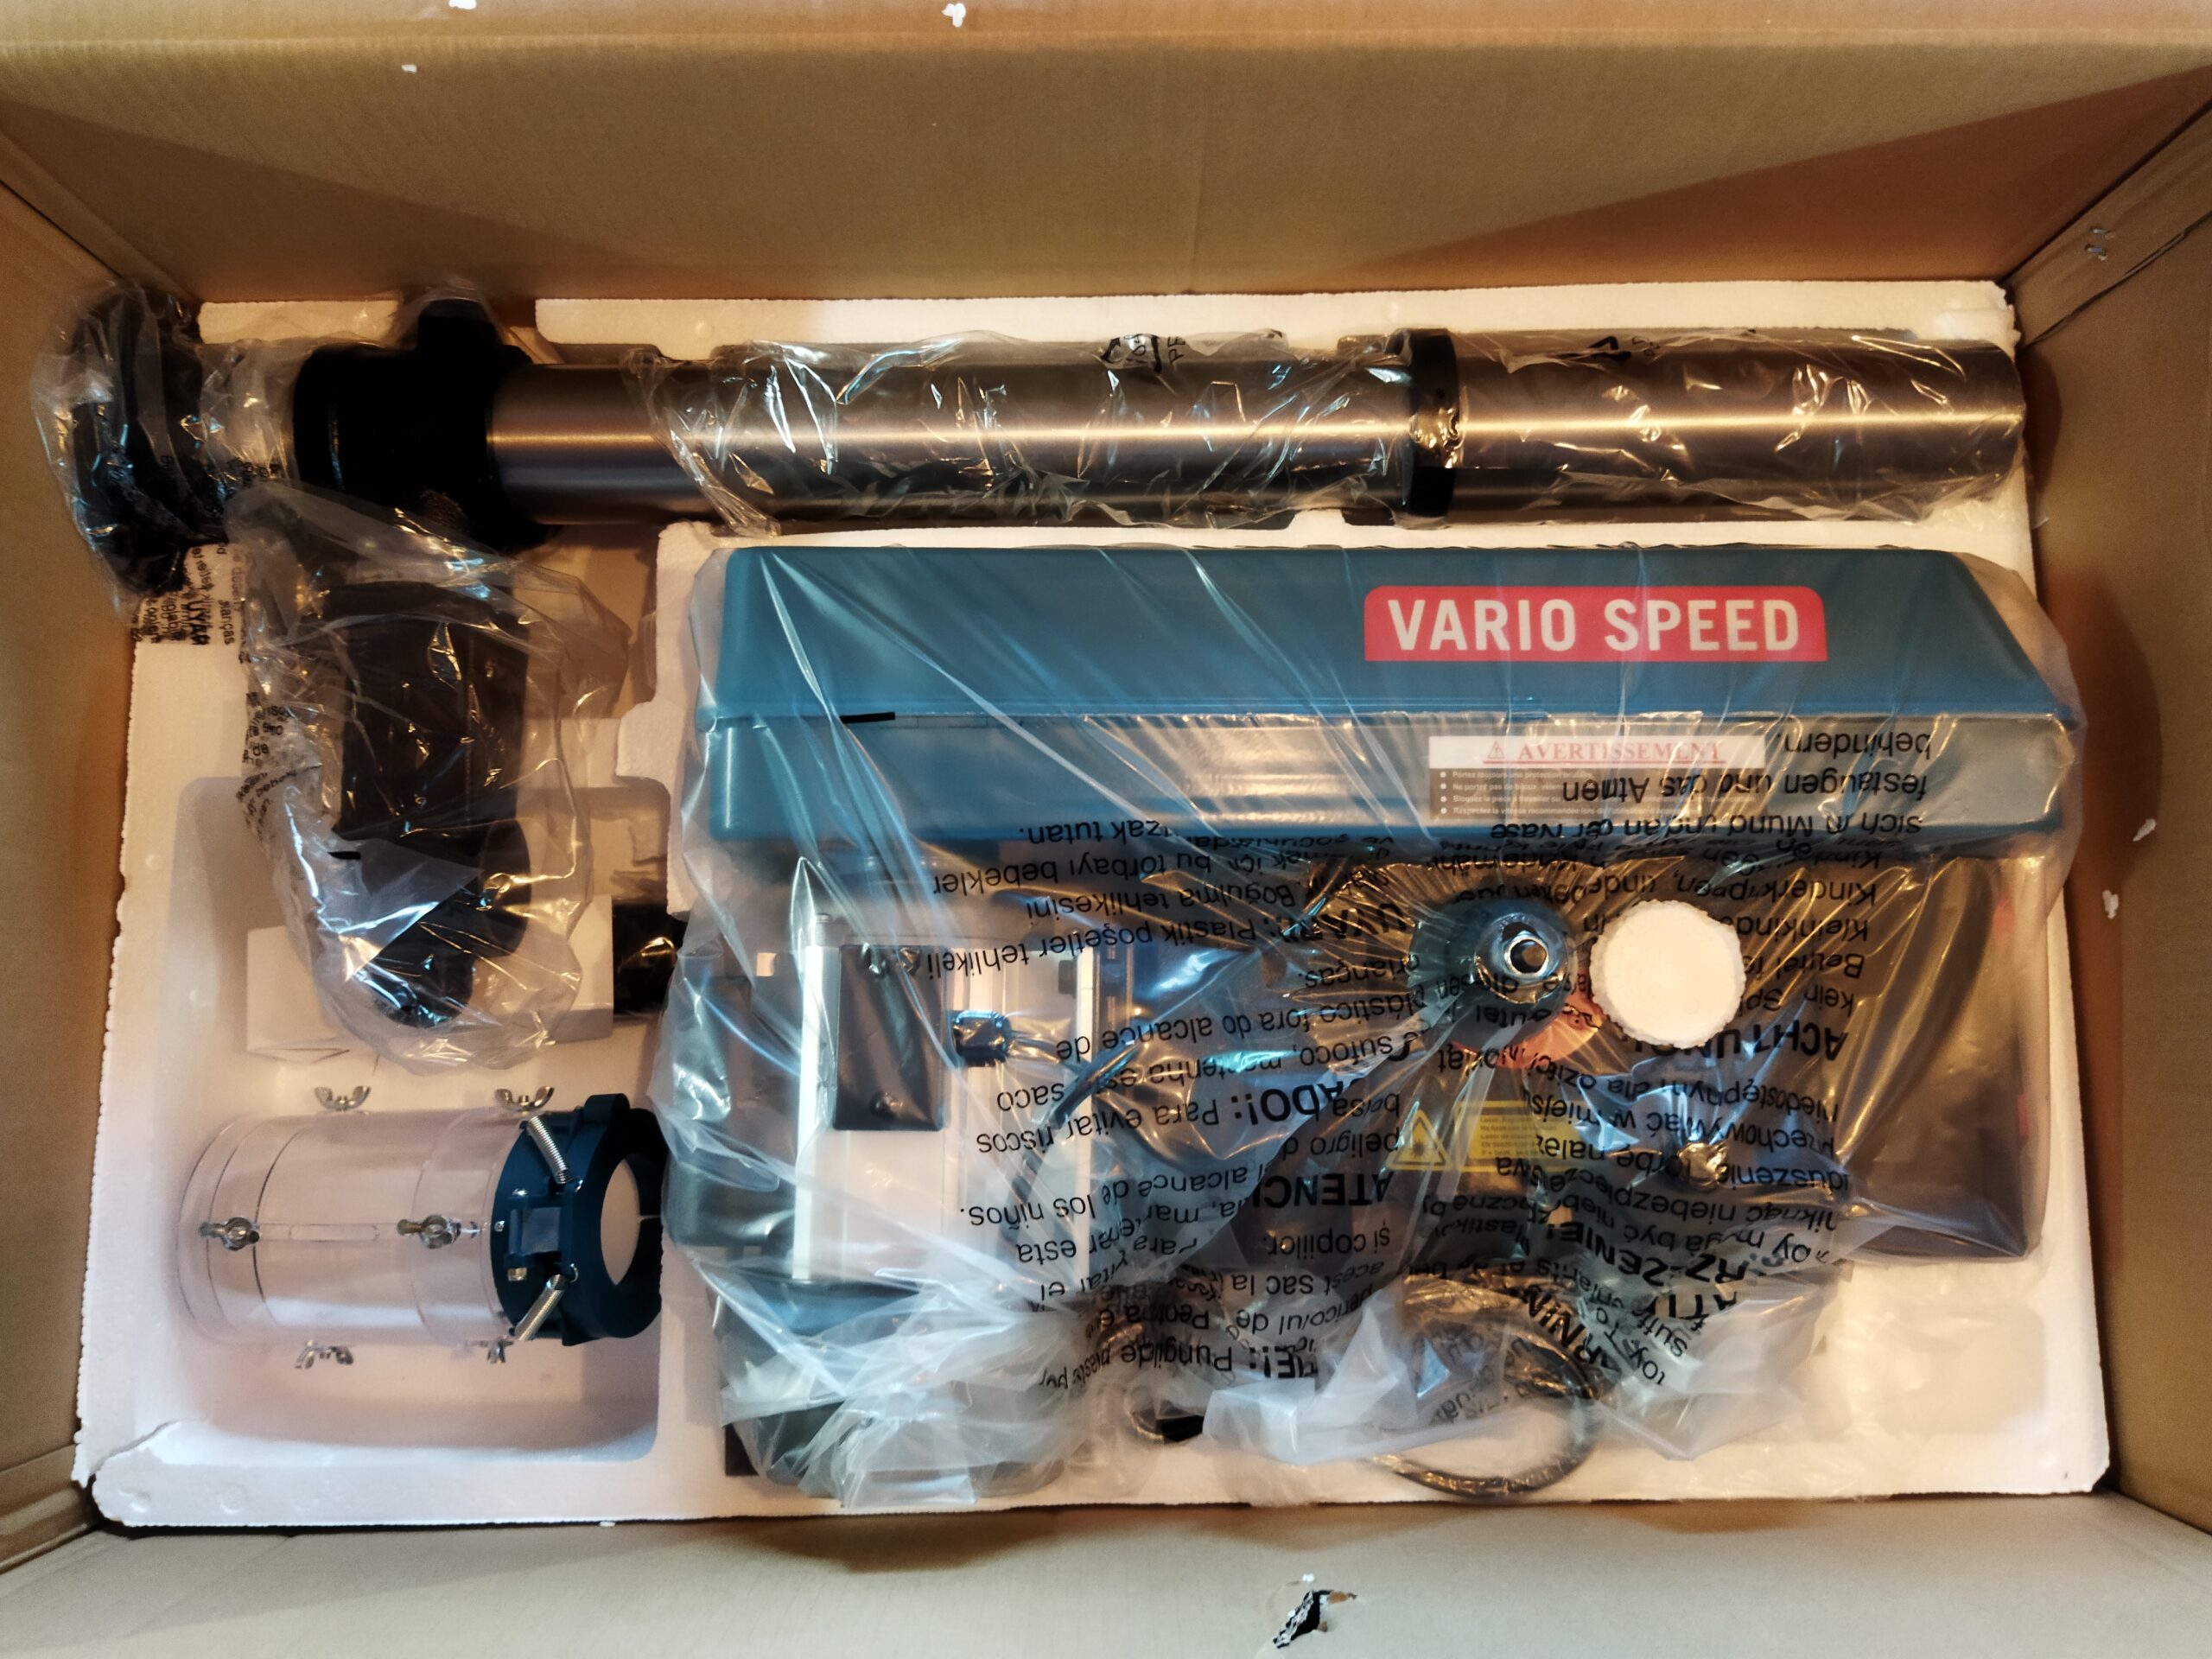
This speed variator is quite a surprise at this price. The first drill press that offers the same specifications is 100 euros more expensive! And the description on the site didn’t mention it at all. I feel like I played the lottery and won!
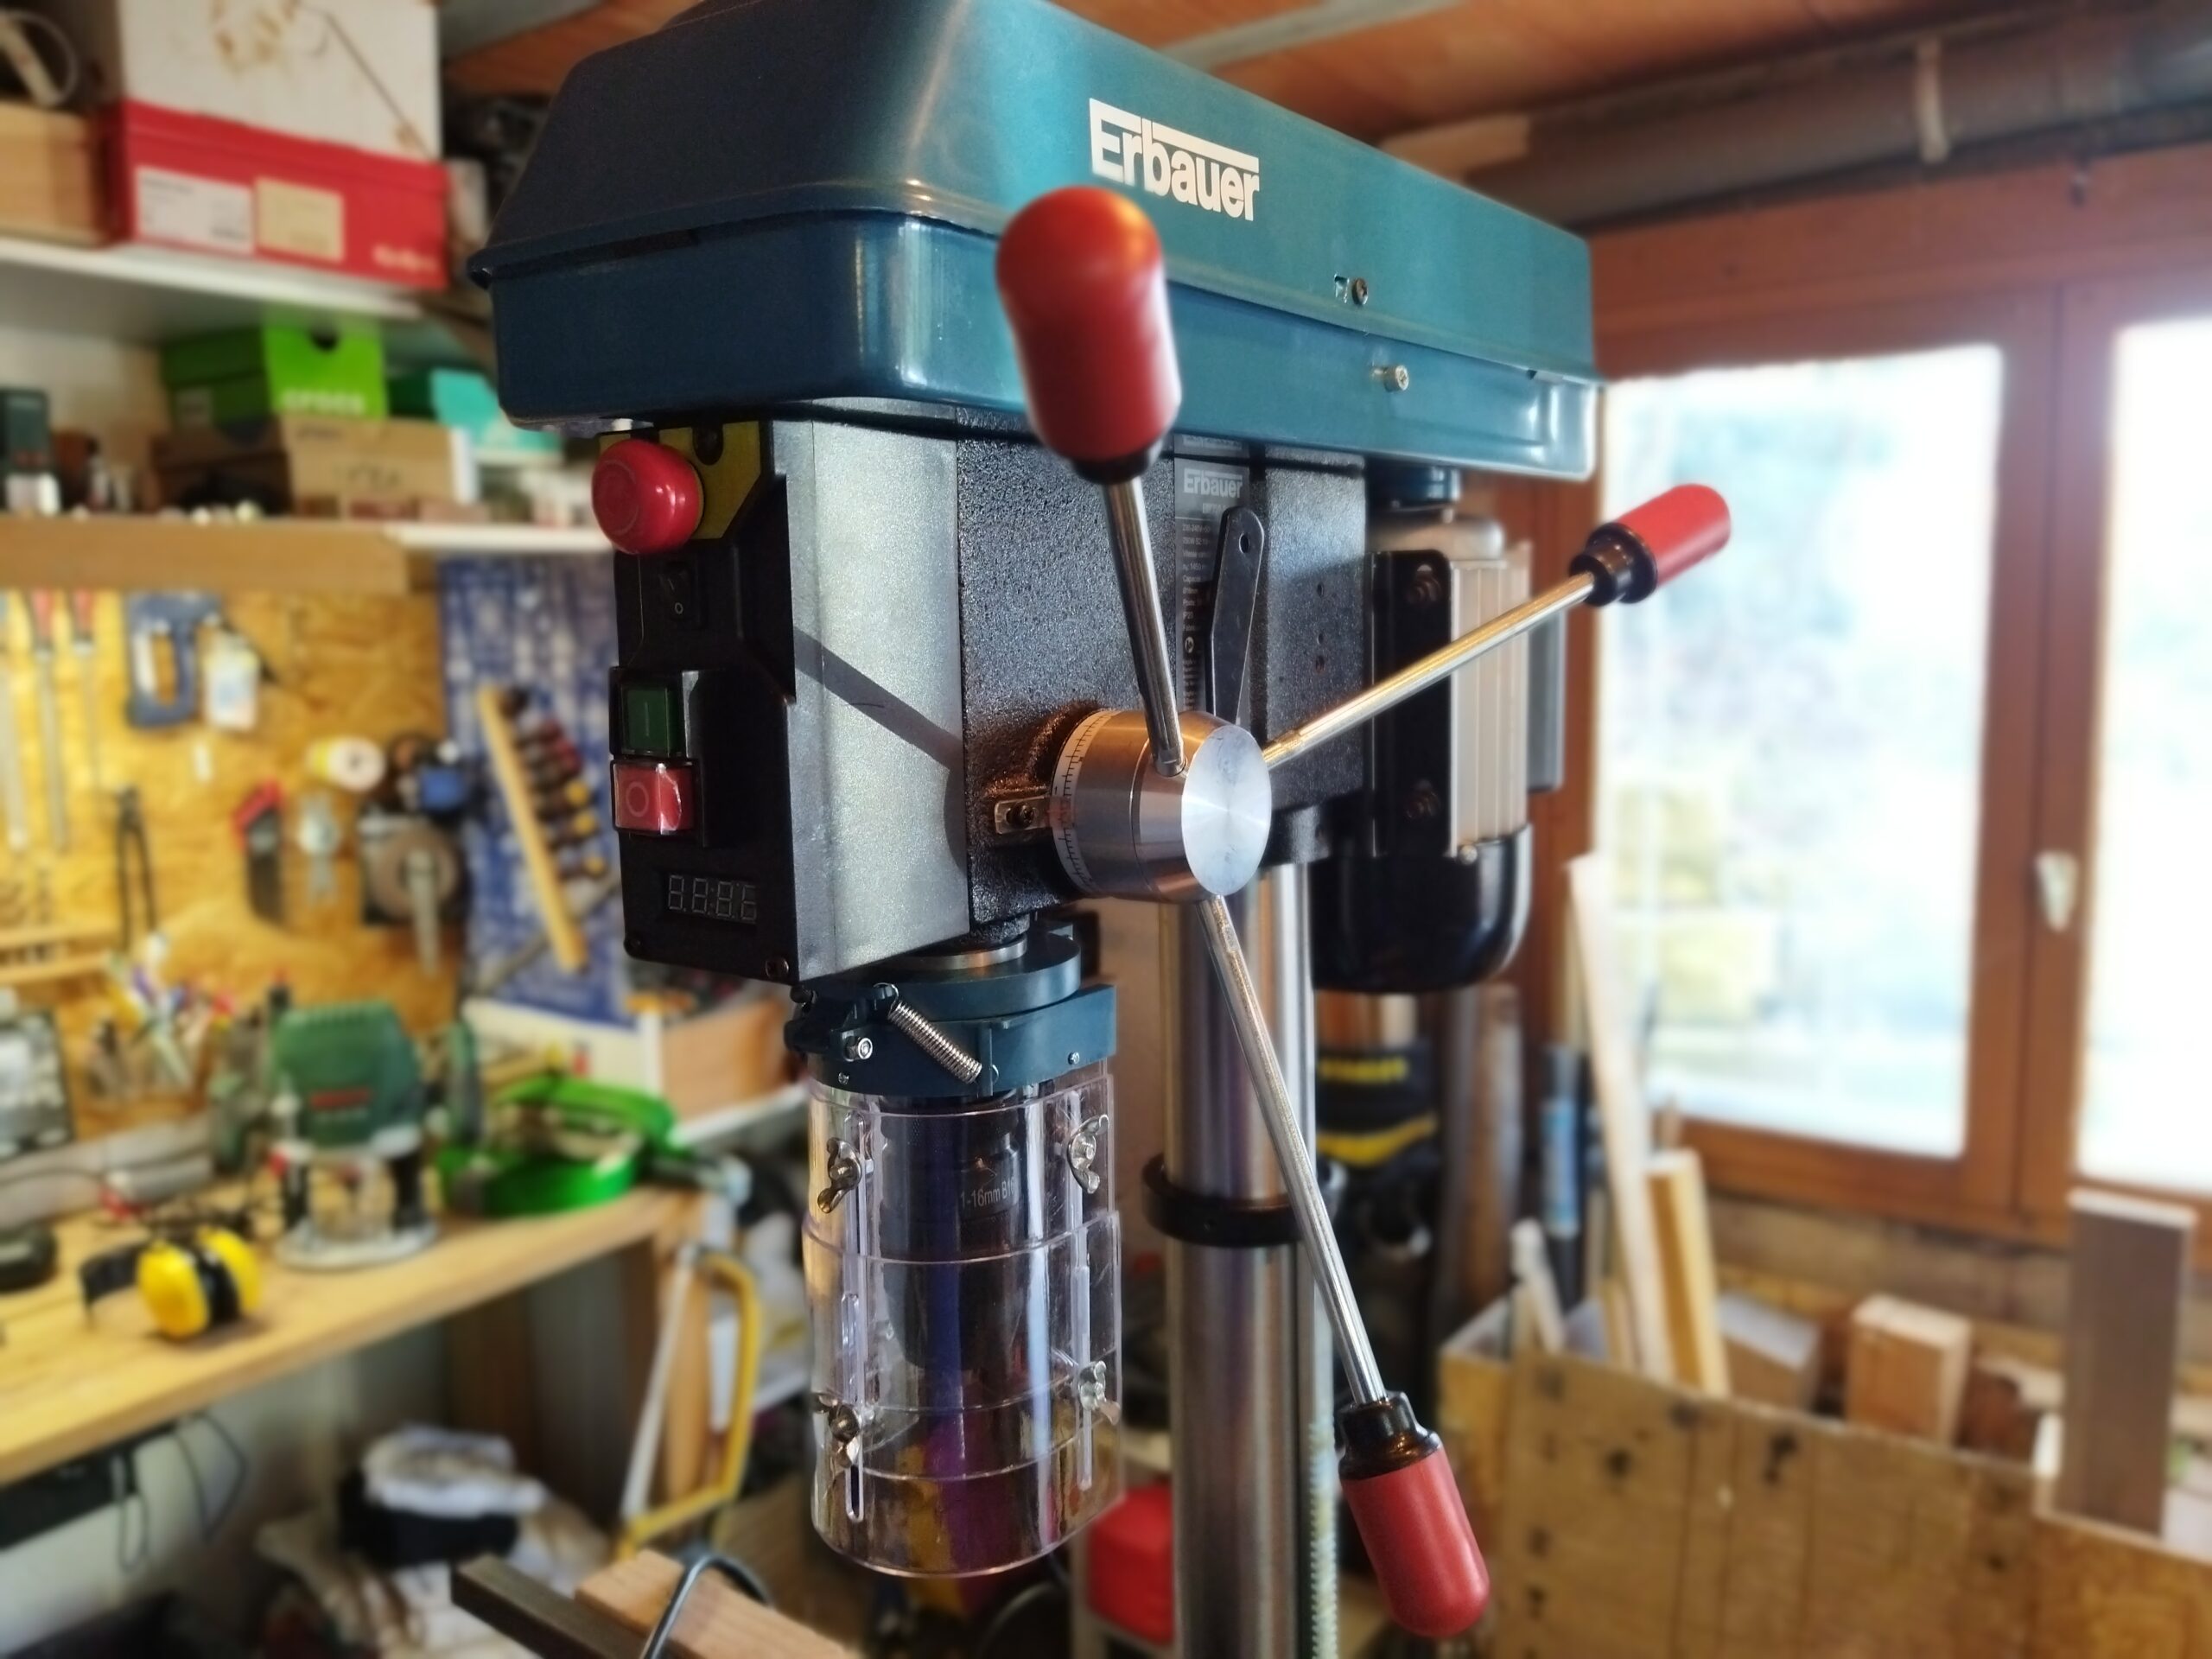
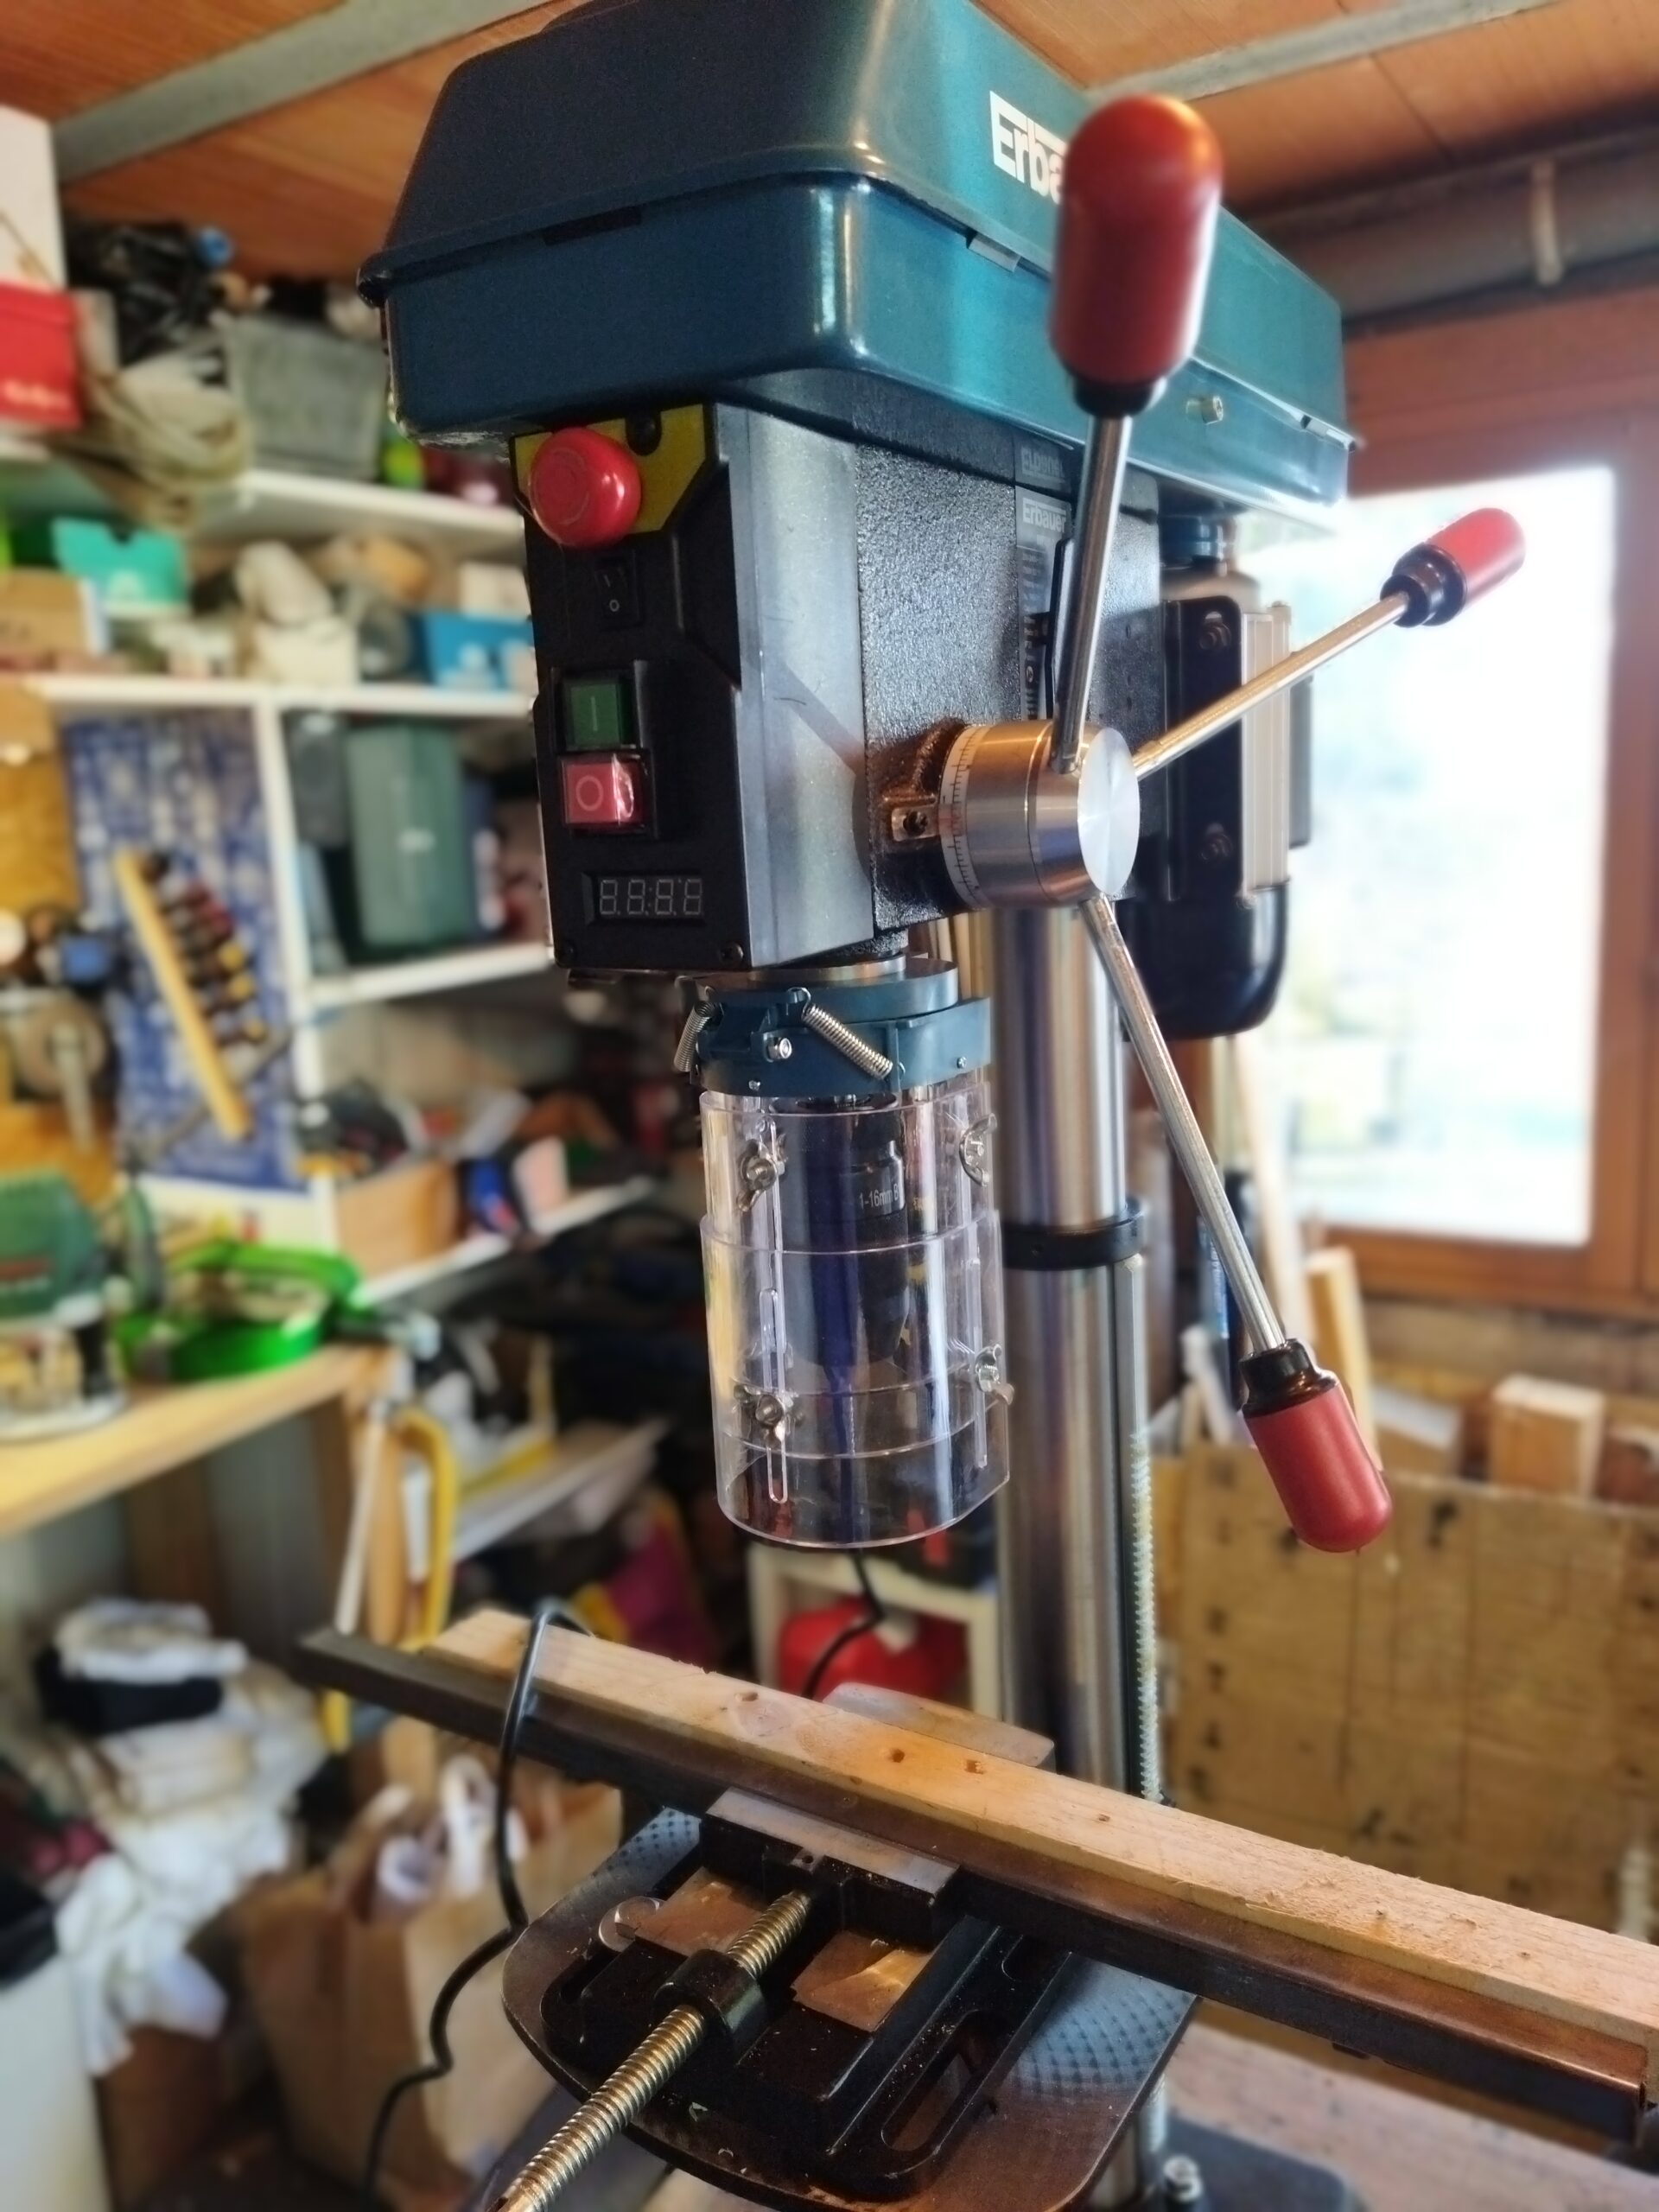
Some explanations: in general, drill presses deliver a constant speed to the chuck, the rotation of the motor being given to the chuck by a belt on two pulleys. However, several stacked pulleys allow you to choose this speed (like the chainrings/sprockets of a bicycle). But you have to turn off the drill, lift the pulley housing, loosen the belt, change it to the correct pulleys, and close the housing. This drill incorporates a variator: under the action of a lever, two saucers move closer or further apart instead of a fixed pulley, which increases or decreases the passage diameter of the belt and changes the speed continuously. A sensor measures the current speed and displays it on a front display. Other drills allow this speed adjustment by an electronic variator, like on hand drills.
Unboxing ends with a nice surprise! Time for assembly.
Mounting
The drill is assembled with a few flat and Allen keys in less than 45 minutes. The explanations are very clear, detailed with diagrams, and correct. I’ll take this opportunity to make a few observations:
- the tube of the rack which supports the assembly is made of 1mm thick steel, very robust
- Base and drilling plate are made of very thick cast iron (> 5mm), there were no savings on these parts, which is reassuring
- All metal parts are protected from corrosion by an oily film
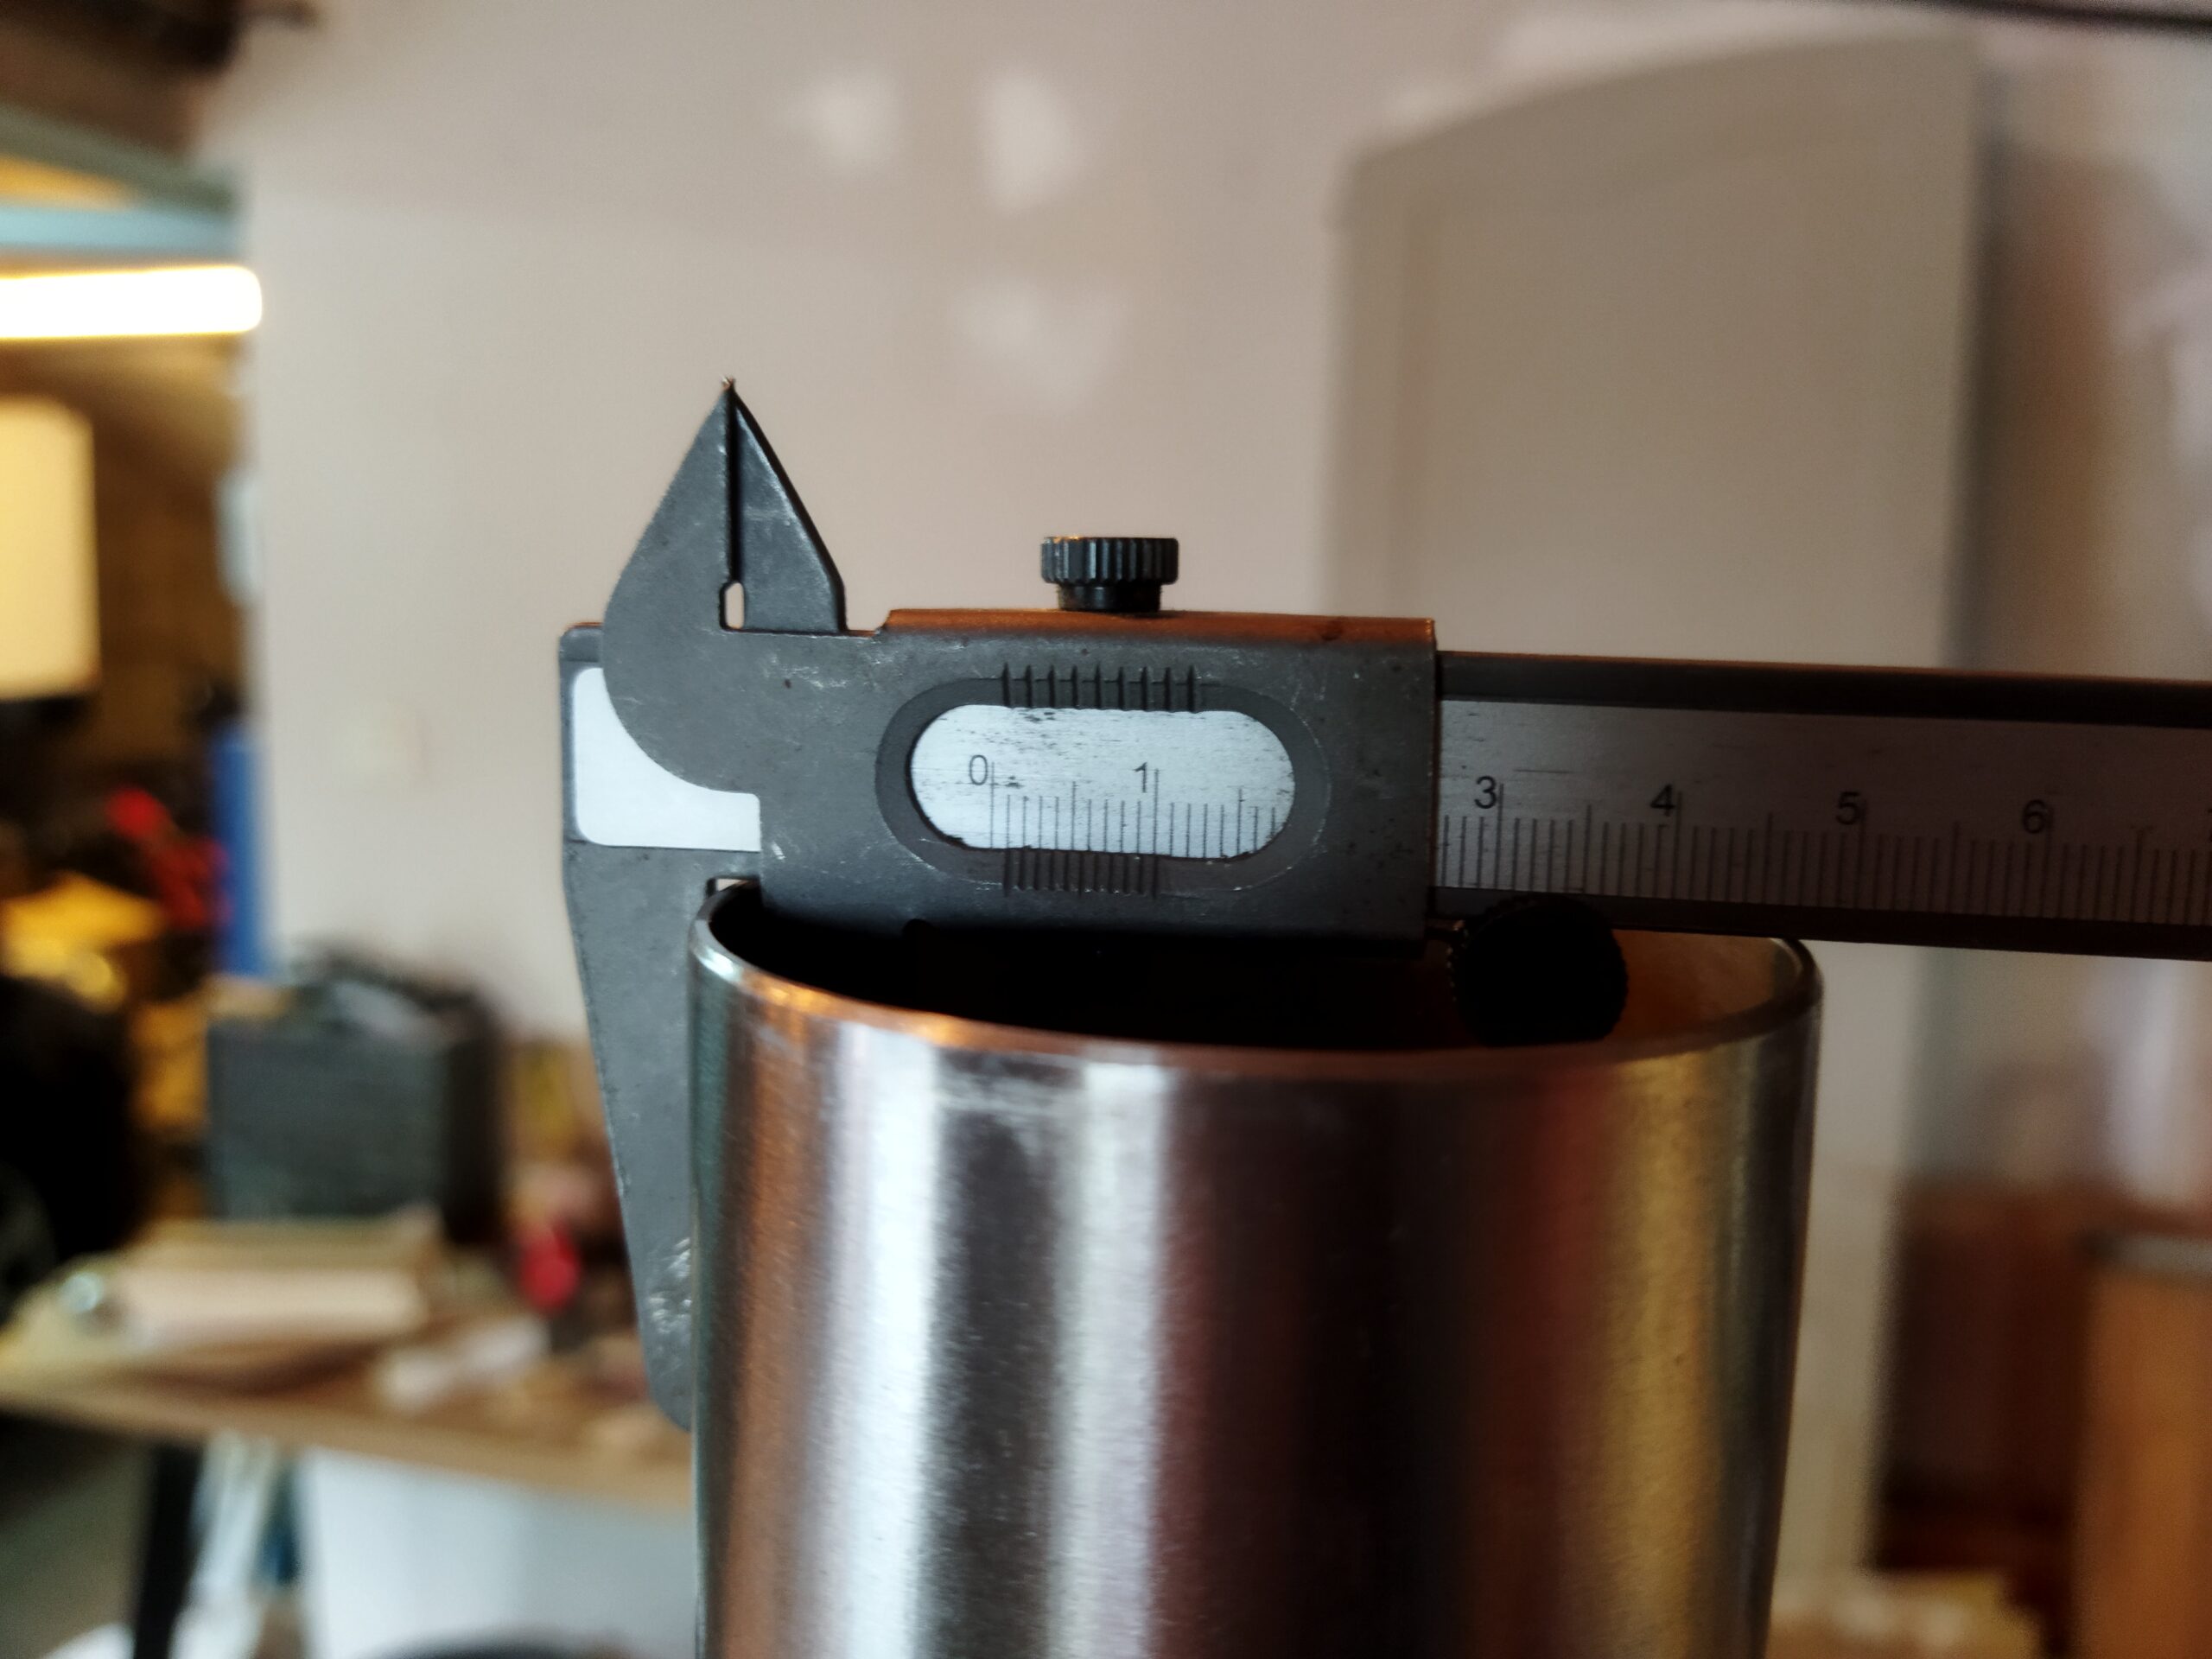
- I measure the stroke of the chuck: 80mm
- All the screws supplied are of quality and can be tightened without damaging
The most difficult part is lifting the very heavy engine block to put it on the column. The assembled assembly weighs nearly 40 kilos and offers a very stable machine tool. Finally, all the graduations, cursors, lasers, but also cranks and sliding parts have their own adjustment. No glued or welded parts that would prevent a deviation from being corrected. It is the advantage of these machines, which are subject to strong constraints, to be able to be regularly adjusted to achieve their precision.
First tests
Before drilling, I grease abundantly: the rack of the column, the rings in which the rack turns and the rack of the chuck. I then mount a 2mm drill bit and start drilling in order to have a reference to adjust the laser. I test the variator and adjust the nut that tightens its crank. And I stick with a magnet on the drill the tab which is used to take out the cone bit! Ready.
- I am trying a 22mm flat drill bit in fir. Drilling is regular, the machine reacts well to pressure on the crank, and drills effortlessly through the thickness of the piece.
- I’m trying to drill a 10mm metal drill into steel tube. At the start of the chuck’s stroke, the drilling is quite round, but at the end of the stroke, play appears and the hole takes on the appearance of a triangle. It appears that my forest is quite bad because it has a flat and non-conical attack. The stresses exerted during drilling are too strong. I get much better results with a conical metal drill bit.
- I try several holes with the depth adjustment: it stays in place and does not move from one hole to another.
- The drilling table and the vice remain firmly fixed during drilling.
Next ?
The first tests are very satisfactory. I get the precision I was looking for. It will be necessary to test it more and for a longer time to really qualify this drill but for the moment, it brings me complete satisfaction.
The only point of question is this play at the end of the chuck stroke. This is really what differentiates professional drill presses from those sold in DIY supermarkets (like this one). But rather than accusing the quality of the machine, I prefer to start looking for implementation techniques: sufficiently sharpened forest, rotation speed, lubrication, drilling which favors the start of the stroke when possible?
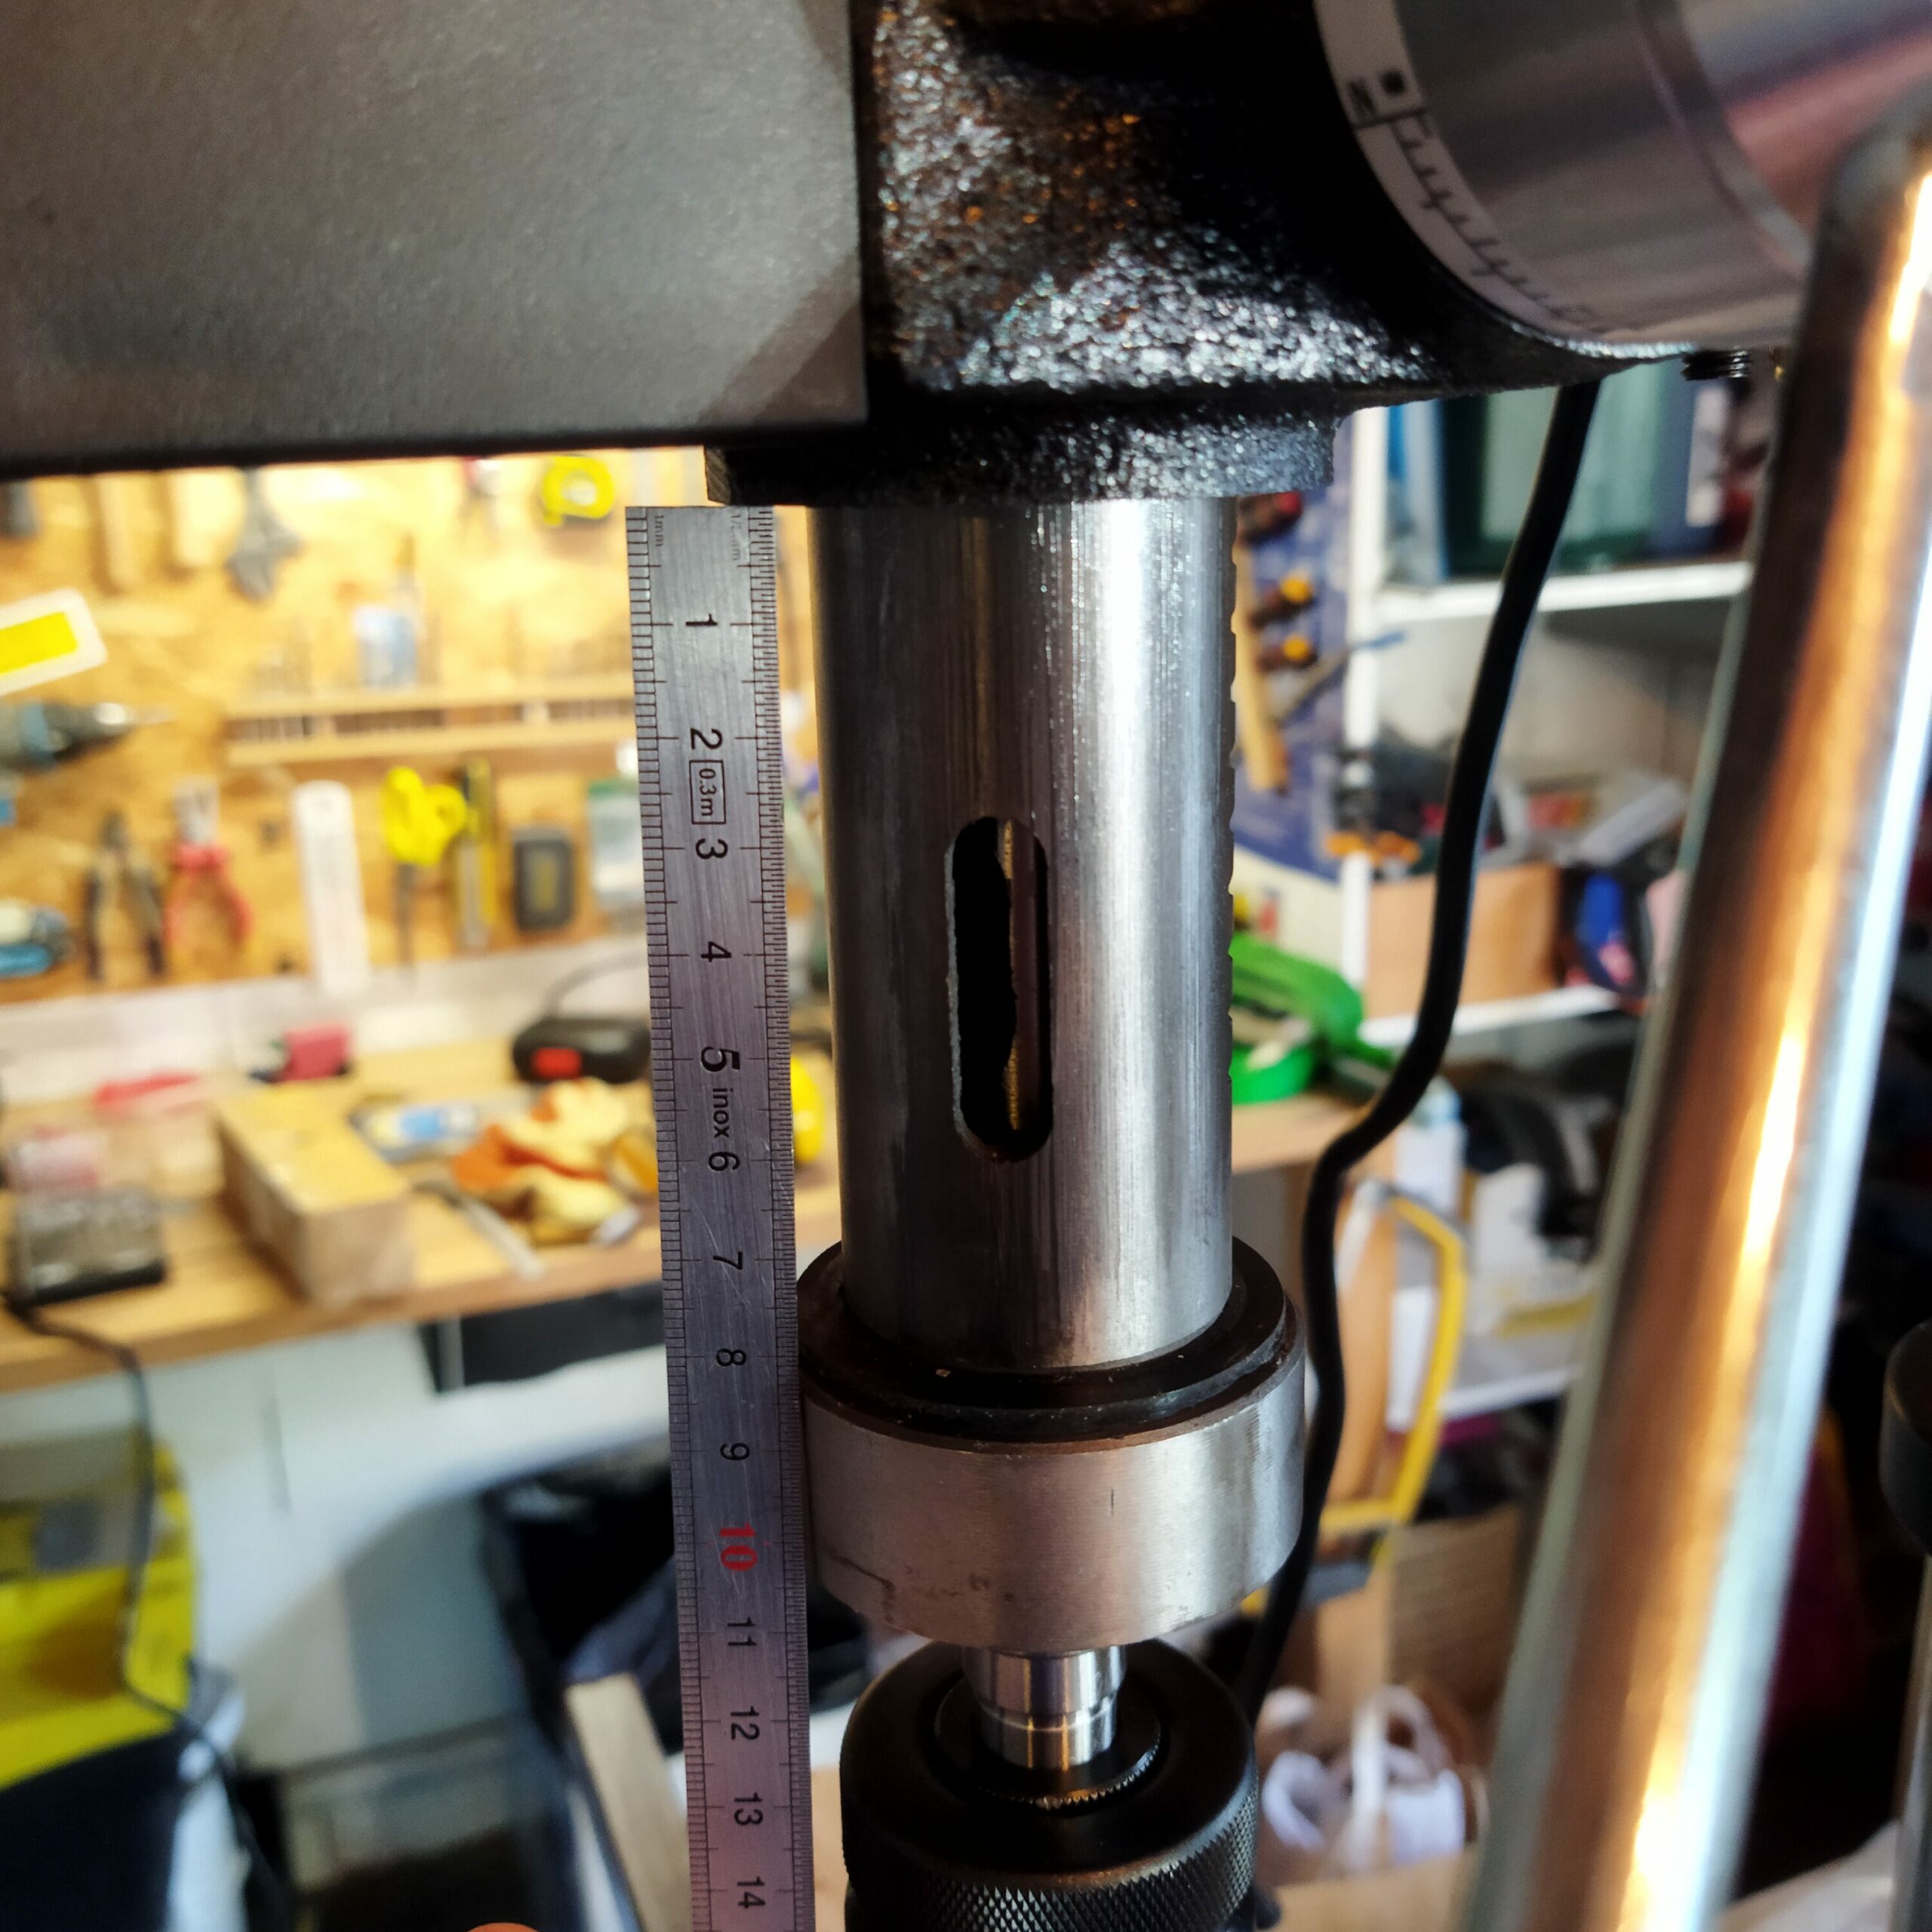
And finally there is this little adjustment screw that I haven’t looked at yet which could provide part of the solution.
